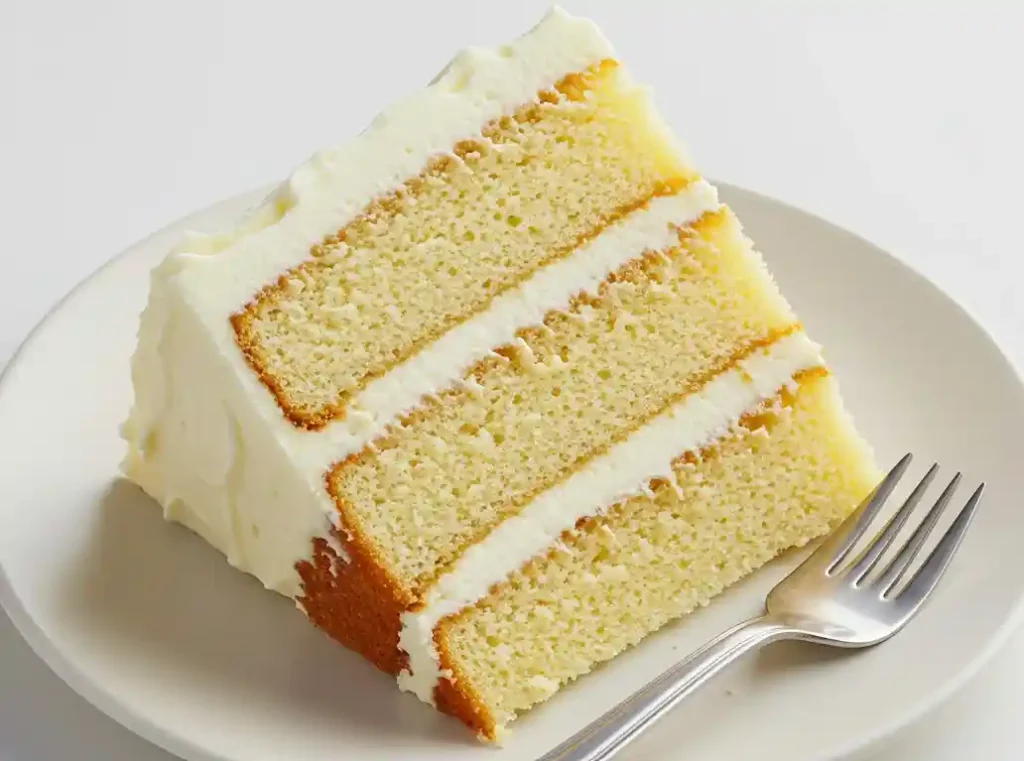
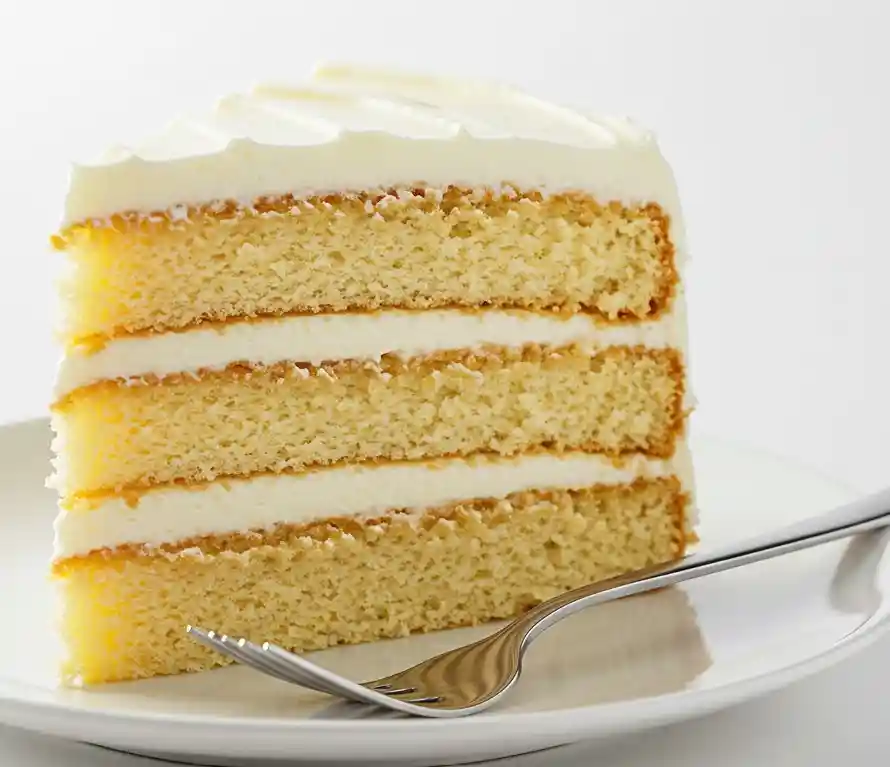
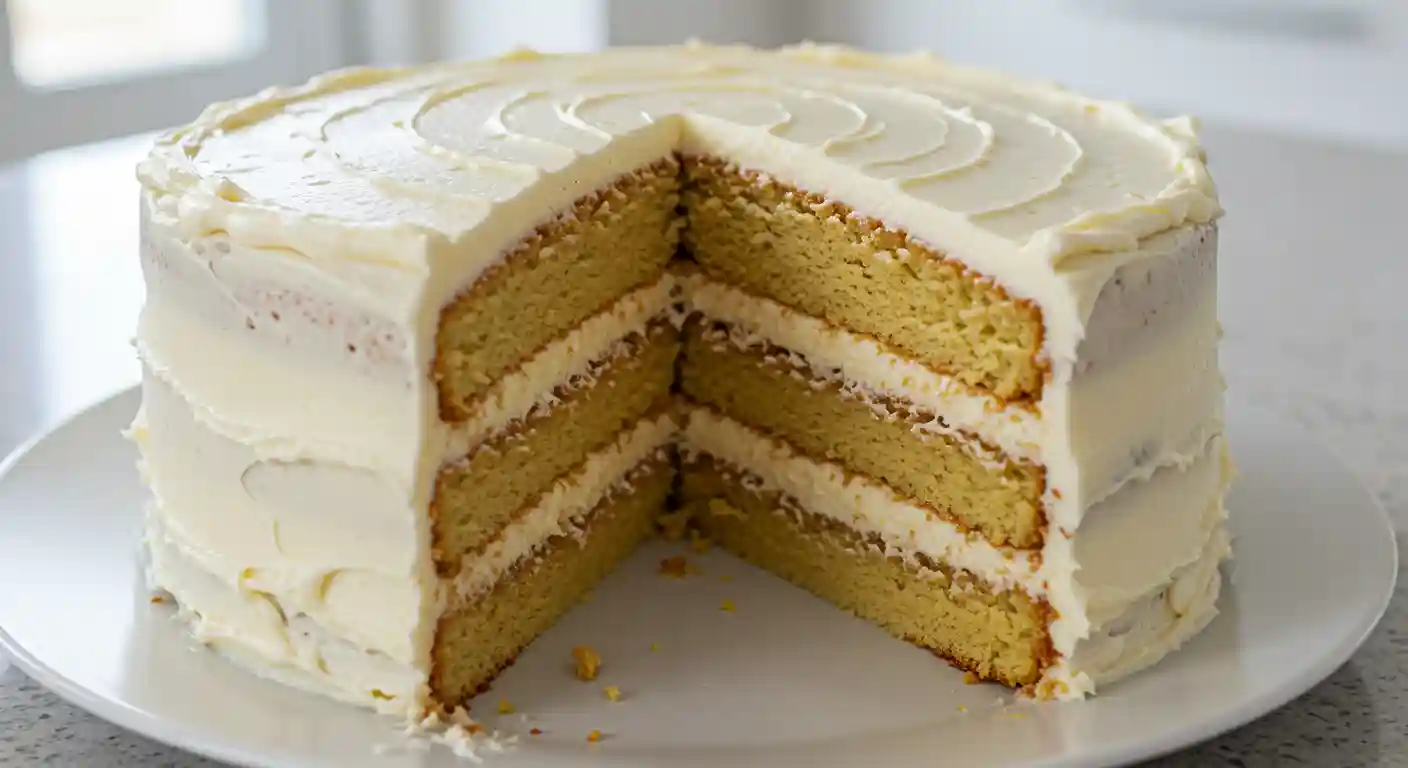
Looking for a delicious and easy vanilla sponge cake recipe? This post is for you! I’m sharing my go-to recipe for a fluffy vanilla sponge cake that’s light, tender, and great for multiple occasions. Just say goodbye to dry, dense cakes; this easy vanilla sponge cake recipe will change the way you bake.
Table of Contents
Ingredients For An Easy Vanilla Sponge Cake Recipe
For the Cake
- 12 oz (340g) Self-Raising Flour
- 12 oz (340g) Room-Temperature Butter or Baking Spread
- 12 oz (340g) Caster Sugar
- 4 Eggs
- 2 tbsp Vanilla Essence / Flavoring
For the Buttercream
- 18 oz (500g) Icing Sugar
- 9 oz (250g) Salted Butter, at room temperature
- 1 tbsp Vanilla Essence / Flavoring
- 2.5 tbsp Milk
How To Make a Vanilla Sponge Cake?
For the Cake
1. Mix Everything Together: Pop all the cake ingredients into a mixing bowl at once. Use your mixer to combine everything until it’s smooth and lump-free. This usually takes about 30 seconds.
2. Prepare Your Pans: Divide the batter evenly between two 6-inch cake tins. For a non-stick surface, grease the tins with a little butter, dust them with flour, and place a circle of parchment paper at the bottom.
3. Bake the Cakes: Place the tins on the middle rack of your oven. Bake for about 45 minutes at 180°C (350°F). A pro tip: I don’t use the fan setting on my oven for cakes because it can bake the outside too fast, leaving the middle uncooked.
4. Check for Doneness: After 45 minutes, poke the center of a cake with a cocktail stick or skewer. If it comes out clean, your cake is ready! Let the cakes cool in their tins on a wire rack for a few minutes. Then, turn them out to cool completely.
For the Buttercream
1. Combine Ingredients: While your cakes are cooling, sift the icing sugar into a mixing bowl. Add the room-temperature butter, vanilla, and milk.
2. Whip It Up: Mix on a medium speed for about 5 minutes. You’ll know it’s ready when the buttercream turns creamy and fluffy. If you like, you can add food coloring at this point.
Filling and Finishing the Cake
1. Level and Fill: Once your cakes are fully cooled, use a knife to level the tops and slice each cake horizontally into two layers. Spread your buttercream between the layers and carefully stack them.
2. Apply a Crumb Coat: Spread a thin layer of buttercream all over the outside of the cake. This “crumb coat” traps any loose crumbs. Pop the cake in the fridge for about 30 minutes to let the buttercream firm up.
3. Final Frosting: After the crumb coat is firm, use the rest of the buttercream to create a final, smooth layer. The cake is now ready for you to add any final decorations.

Snapshot On Serving and Storage
Once your homemade vanilla cake is cool, you can frost it with your favorite buttercream or simply dust it with powdered sugar. Serve it with fresh strawberries and whipped cream for an elegant touch.
This cake will stay fresh and moist in an airtight container at room temperature for up to 4 days. If you’re a planner like me, you can even bake the cakes ahead of time and freeze them wrapped tightly in plastic wrap.
I hope you love this vanilla sponge cake as much as I do! And if you do, I am sure you would also like to check my Mandarin Orange Cake Recipe; it’s quick, easy and very delicious.
Reasons You’ll Love This Vanilla Sponge Cake
This recipe has become a favorite for so many. I promise you, this will be one of the best vanilla sponge cakes you’ve tried. Here’s why it’s so special:
- Amazingly Fluffy and Tender: The texture is light and airy, but still sturdy enough for layers and frosting.
- Stays Moist for Days: No more dry cakes! This one stays wonderfully fresh and moist, even on day two or three.
- Simple Ingredients: It uses basic pantry staples, so you won’t need to hunt for special flours or expensive ingredients.
- A Perfect Canvas: It’s full of classic vanilla flavor, making it the perfect base for any frosting, from simple buttercream to fresh cream and berries.
Don’t forget to share your thoughts, ideas, twists in the comments. And join us in Pinterest, we share daily inspiration and creativity.


The Only Vanilla Sponge Cake Recipe You’ll Ever Need
Ingredients
Equipment
Method
- For the Cake
- Mix Everything Together: Pop all the cake ingredients into a mixing bowl at once. Use your mixer to combine everything until it’s smooth and lump-free. This usually takes about 30 seconds.
- Prepare Your Pans: Divide the batter evenly between two 6-inch cake tins. For a non-stick surface, grease the tins with a little butter, dust them with flour, and place a circle of parchment paper at the bottom.
- Bake the Cakes: Place the tins on the middle rack of your oven. Bake for about 45 minutes at 180°C (350°F). A pro tip: I don’t use the fan setting on my oven for cakes because it can bake the outside too fast, leaving the middle uncooked.
- Check for Doneness: After 45 minutes, poke the center of a cake with a cocktail stick or skewer. If it comes out clean, your cake is ready! Let the cakes cool in their tins on a wire rack for a few minutes. Then, turn them out to cool completely.
- For the Buttercream
- Combine Ingredients: While your cakes are cooling, sift the icing sugar into a mixing bowl. Add the room-temperature butter, vanilla, and milk.
- Whip It Up: Mix on a medium speed for about 5 minutes. You’ll know it’s ready when the buttercream turns creamy and fluffy. If you like, you can add food coloring at this point.
- Filling and Finishing the Cake
- Level and Fill: Once your cakes are fully cooled, use a knife to level the tops and slice each cake horizontally into two layers. Spread your buttercream between the layers and carefully stack them.
- Apply a Crumb Coat: Spread a thin layer of buttercream all over the outside of the cake. This “crumb coat” traps any loose crumbs. Pop the cake in the fridge for about 30 minutes to let the buttercream firm up.
- Final Frosting: After the crumb coat is firm, use the rest of the buttercream to create a final, smooth layer. The cake is now ready for you to add any final decorations.
Notes
- Preventing a Dense Cake: The most common cause is overmixing the batter. Mix only until the ingredients are just combined and smooth.
- For an Extra Moist Cake: Do not overbake. Start checking for doneness a few minutes before the recipe’s suggested time. Using full-fat milk also helps retain moisture.
- Cupcake Variation: This recipe can be used to make cupcakes. Pour the batter into cupcake liners and bake for 15-20 minutes, checking with a toothpick after 15 minutes.
FAQs for This Homemade Cake
Why did my vanilla sponge cake turn out dense?
This is a common issue! The most likely reason is overmixing the batter after adding the flour. Overmixing develops the gluten, which leads to a tough, dense cake. To avoid this, fold the flour in gently and stop as soon as the last streaks of flour disappear. Another cause could be not whipping the eggs and sugar enough in the beginning.
How can I make my sponge cake extra moist?
To ensure a moist vanilla cake, there are a few tricks. First, don’t overbake the cake; start checking for doneness a few minutes before the recipe suggests. The hot milk method used in this recipe is also a key secret to a moist crumb. Adding a little bit of oil or using full-fat milk can also help retain moisture.
What’s the difference between a sponge cake and a butter cake?
The main difference is how the cake is leavened. A traditional sponge cake gets its light, airy texture primarily from whipped eggs, with little to no added fat. A butter cake, on the other hand, relies on the creaming of butter and sugar to create air, resulting in a richer, denser texture. Our recipe uses the best of both worlds; whipped eggs for a fluffy sponge and melted butter for a rich flavor.
Can I use this recipe to make cupcakes?
Yes, absolutely! This is a great recipe for cupcakes. Simply follow the same instructions but pour the batter into cupcake liners. The baking time will be shorter, usually around 15-20 minutes. Check them with a toothpick after 15 minutes to see if they’re done.
How long does a homemade vanilla sponge cake last?
This fluffy vanilla sponge cake will stay fresh and moist for 3-4 days when stored properly. Make sure to keep it in an airtight container at room temperature to prevent it from drying out.
Can I substitute any of the vanilla cake ingredients?
While this recipe is optimized for the ingredients listed, you can make some minor substitutions. For the milk, full-fat is best, but you can use low-fat milk. Avoid using non-dairy milks as they can change the texture. I recommend using all-purpose flour, but if you must, cake flour can be used for an even more delicate crumb. However, you should never substitute the baking powder for baking soda, as they work differently in recipes.
