Looking for an easy bento cake recipe? You’ve landed in the right spot to create those adorable little cakes; sometimes called ‘bento box cakes’ whose charm is taking the world by storm. This guide will show you just how simple it is to make your own aesthetic birthday cake.
All Sections
The Allure of the Viral Bento Cake
There’s just something special about bento cakes, isn’t there?
- Their personal size makes them an instant hit; it’s like a sweet secret just for you or a loved one.
- Custom designs are a big part of the appeal, allowing for that truly “cute” factor to shine through in every little creation.
- These serve wonderfully as mini cakes for birthdays, offering a unique and individual treat that feels incredibly thoughtful.
- You also get this lovely mix of today’s trends with a sweet nod to the past, almost like a vintage birthday cakes charm reimagined for now.
- They prove you don’t need to be a pro baker to make something truly memorable.
Ingredients
For the Cake Layers:
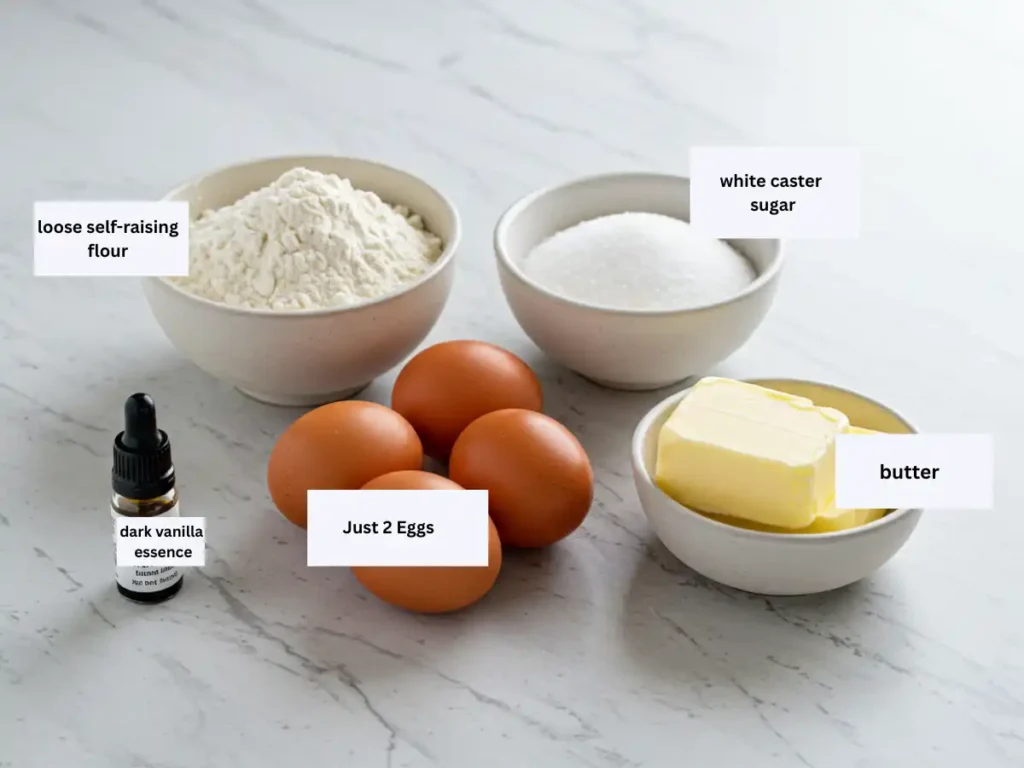
- Self-Raising Flour: 170g (6 oz)
- Butter: 170g (6 oz), softened
- Caster Sugar: 170g (6 oz)
- Eggs: 2, large
- Vanilla Essence: 1 tbsp (or Vanilla Extract)
For the Buttercream:
- Icing Sugar: 500g (18 oz), sifted (also known as Powdered Sugar)
- Salted Butter: 250g (9 oz), softened
- Vanilla Essence: 1 tbsp (or Vanilla Extract)
- Milk: 2.5 tbsp

Method Instructions
Making the Cake Batter
- Preheat and Prepare Pan:
- Preheat your oven to 180°C (350°F, or Gas Mark 4).
- Take a 5-inch round cake tin that is at least 3 inches deep.
- Lightly butter the inside of the tin.
- Dust the greased tin with flour.
- Place a circle of parchment paper on the bottom of the tin.
- (Note: If your tin is less than 3 inches deep, you will need a second tin or plan to bake the batter in batches.)
- Combine Ingredients:
- In a large mixing bowl, add the self-raising flour, softened butter, caster sugar, 2 eggs, and 1 tablespoon of vanilla essence.
- Mix the Batter:
- Using an electric mixer on a low speed (or whisking by hand), mix all the ingredients together until they form a smooth batter.
- Mix for only about 30 to 60 seconds.
- Be careful not to overmix; mix just until everything is combined to keep the cake tender.
Baking and Cooling the Cake
- Fill the Tin: Pour the batter into the prepared tin and spread it evenly.
- Bake the Cake:
- Put the tin on the middle oven shelf.
- Bake for about 45 minutes.
- (Note: A conventional oven setting (without a fan) may bake the cake more evenly and prevent it from browning too much compared to a fan oven.)
- Check for Doneness and Cool:
- To see if the cake is done, insert a thin skewer (like a cocktail stick or bamboo skewer) into the center of the cake. Your cake is baked through if the skewer is clean after testing.
- Allow the cake, still in its tin, to rest on a wire rack for roughly 10 minutes.
- After its initial 10-minute cool in the tin, carefully invert the cake onto a wire rack so it can cool completely.
Preparing the Buttercream
- Combine Buttercream Ingredients:
- In a large, clean mixing bowl, add the sifted icing sugar, softened salted butter, 1 tablespoon of vanilla essence, and the dash of milk.
- Whip the Buttercream:
- Using an electric mixer on medium speed, beat the ingredients for about 5 minutes.
- Keep mixing; the buttercream should become very light, fluffy, and smooth.
- Add Color (Optional):
- If you plan to color it, now is the time to add a few drops of gel food coloring.
- Mix until you reach the color you want.
Assembling and Decorating
- Level and Split the Cake:
- When the cake has cooled down entirely, take a serrated knife and carefully trim any dome from the top, creating a flat surface.
- Carefully cut the cake in half horizontally to create two even layers.
- Fill and Stack:
- Place one cake layer on your serving plate or directly into your bento box.
- Spread a layer of buttercream over it.
- Place the second cake layer on top.
- Frost the Cake:
- Use an offset spatula or a smoothing tool to cover the top and sides of the cake with the remaining buttercream.
- Decorate:
- Put the rest of the buttercream into a piping bag fitted with your preferred nozzle.
- Pipe a border, swirls, or any other designs you like to finish your bento cake.

Mistakes & How to Avoid Them While Making Bento Cake
The Dreaded Dome: Taming Uneven Cake Layers
A common sight in baking is the cake dome, but for that neat bento cake recipe stack, we want flat surfaces.
- For even baking, try using bake-even strips (homemade or store-bought) around your tin. These help the edges bake at a similar rate to the center.
- Ensure your oven temperature is accurate; sometimes, a slightly lower temperature and longer bake time can help.
- Leveling is key once your cake has cooled. Use a long serrated knife to gently slice off any domed top, creating a perfectly flat surface. This is vital for a stable and professional-looking bento box cake.
Buttercream Blunders: Achieving Smooth, Dreamy Frosting
Your buttercream is the star of the show when it comes to that decorated cake aesthetic.
- Common issues include buttercream that’s too stiff to spread, too runny to hold its shape, or full of tiny air bubbles.
- If it’s too stiff, add a tiny bit more milk (a teaspoon at a time) until it’s spreadable.
- If it’s too runny, add a bit more sifted icing sugar until it thickens.
- For air bubbles, try mixing on a lower speed for the last minute or two, or vigorously stir the buttercream with a spatula to push them out. This helps achieve that smooth finish perfect for an aesthetic birthday cake.
Tiny Tin Troubles: Getting Your Bento Cake Size Just Right
The “mini” in mini cakes birthday treats is what makes them special, so the tin matters.
- Using the correct tin size, like the 5-inch round tin suggested in this bento cake recipe, is important for getting the right height and baking time.
- If your tin is a different size, you may need to adjust the batter amount or baking time. A shallower tin might require splitting the batter into two tins to prevent overflow and ensure even baking.
- Always make sure not to overfill your tin; about two-thirds full is usually a good guideline.
Variations & Inspiring Designs
Let’s explore how to make it uniquely yours and create some truly memorable bento box cakes. How you decorate transforms your bake into an aesthetic birthday cake.
The Charm of Vintage Birthday Cakes
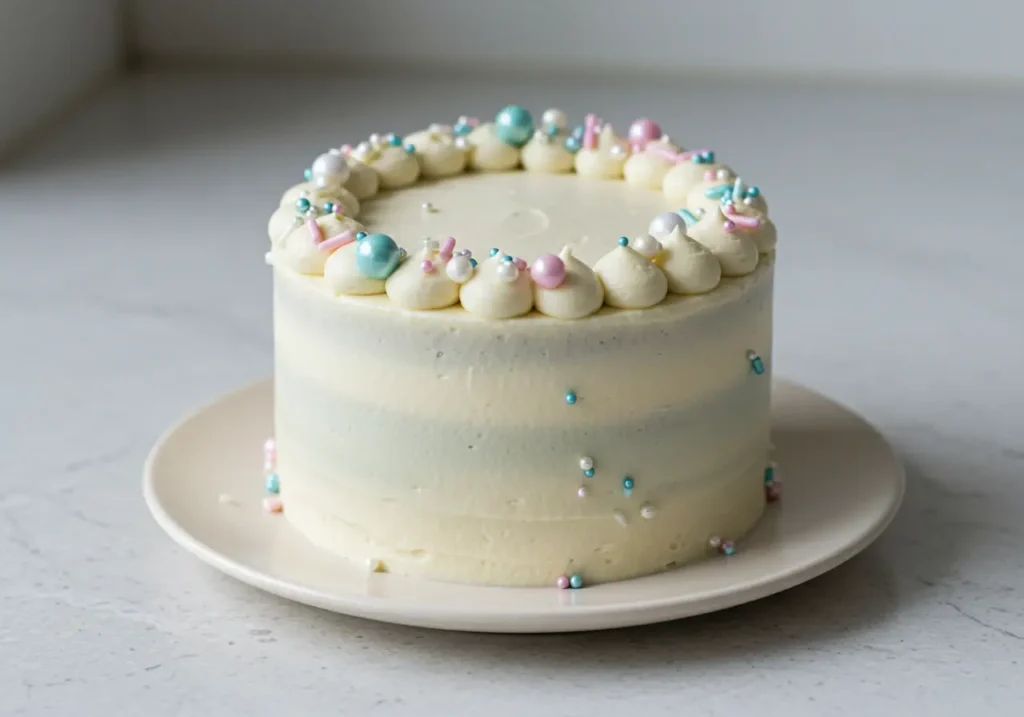
- Think soft pastel colors and delicate piping for that classic vintage birthday cakes feel. Even simple shell borders or tiny dots can evoke this style.
Sweet & Girly Birthday Cakes
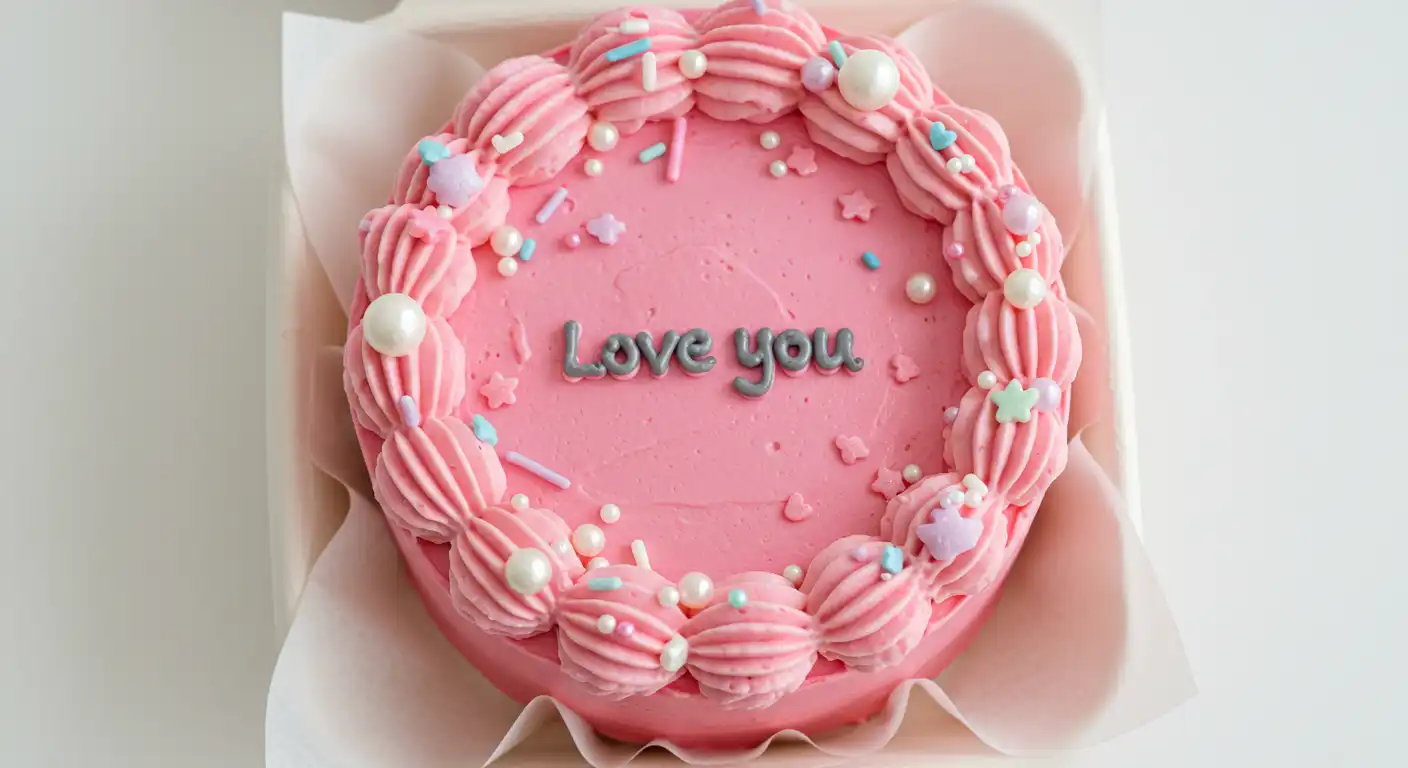
- Consider shades of pink or lavender, perhaps with a few edible pearls or tiny sugar flowers. These touches create lovely girly birthday cakes and contribute to a cute aesthetic birthday cakes look.
Chic Simplicity
- A beautifully smooth layer of buttercream, perhaps in one bold shade, or a design with clean, simple lines can create a truly stunning modern aesthetic birthday cake.

Making Bento Cake Yours
Those little touches are what can truly make your creative birthday cakes shine.
The Iconic Bow
- A buttercream bow piped on top is a hallmark of many bow cakes. Alternatively, a neatly tied satin ribbon around the bento box before gifting adds an elegant touch to your bow birthday cake presentation.
Messages from the Heart
- Use a fine piping tip to write a short message or name. Simple illustrations like hearts or stars are also easy to add and personalize your bento cake.
Final Feedback
Creating these dreamy bento cakes is all about embracing the joy and simplicity of baking something special. Hopefully, you’ve seen just how straightforward it can be to make your own bento box cakes. Don’t be afraid to embrace your creativity and experiment with flavors, colors, and designs. This bento cake recipe is a wonderful starting point for all sorts of creative birthday cakes and sweet gestures. And if you’re looking for more inspiration on decorating, especially with beautiful floral elements like a delicate bento cake tulips design, you might also enjoy checking out our ideas for a Flower birthday cake: 5 beautiful designs to try.
We’d love to see your cake creations! Tag us on Instagram or share your experience in the comments below – it’s always inspiring to see how everyone adds their own unique touch. Remember, the journey of making your aesthetic birthday cake should be simple fun, with the stunning reward of a delicious and beautiful treat to share or enjoy all to yourself!

Dreamy Bento Cake Recipe: Simple Fun
Ingredients
Equipment
Method
- Prep Tin & Oven: Preheat oven to 180°C (350°F). Grease, flour, and line a 5-inch round cake tin (3-inch high) with parchment paper.
- Combine Cake Ingredients: In a large bowl, mix together flour, room temperature butter, sugar, eggs, and vanilla essence.
- Mix Batter: Beat on low-medium speed (or by hand) for 30-60 seconds until just combined and smooth. Do not overmix.
- Fill Tin: Pour batter into prepared tin and smooth the top with a spatula.
- Bake: Bake on middle shelf for ~45 mins, or until a skewer in center comes out clean. Conventional oven setting recommended.
- Cool Cake: Cool in tin for 10 mins, then invert onto wire rack. Remove parchment; cool completely (at least 1 hour).
- Make Buttercream: While cake cools, sift icing sugar into a large bowl. Add softened butter, vanilla, and milk.
- Whip Buttercream: Beat on medium speed for ~5 mins until light and fluffy. Adjust consistency with more milk (if stiff) or icing sugar (if soft). Add gel food coloring if desired; mix.
- Prep Cooled Cake: Once cool, level domed top with a serrated knife. Slice cake horizontally into two even layers.
- Assemble: Place one layer on plate/bento box. Spread with buttercream; top with second layer.
- Frost: Apply a smooth buttercream coat to top and sides using an offset spatula (or cake scraper for extra smoothness).
- Decorate: Fill piping bag with remaining buttercream. Pipe border, message, or add desired decorations (bows, sprinkles) to finish your dreamy bento cake.
Notes
- Room Temperature Ingredients: Use for best cake and buttercream texture.
- Sift Icing Sugar: Ensures smooth, lump-free buttercream.
- Color Your Buttercream: Add gel food coloring for vibrant, themed cakes.
Common Bento Cake Questions Answered
What’s the secret to a truly aesthetic birthday cake finish on a bento cake?
The key elements are beautifully smooth frosting, thoughtful color choices that complement each other, neat and deliberate piping (even simple designs look great when tidy), and of course, the charming presentation in a bento box.
Can I adapt bento cake recipe for different mini cakes birthday themes, like for a Libra birthday or a pink theme birthday cake?
Yes, absolutely! This bento cake recipe is very flexible. You can easily change the buttercream color to fit a pink theme birthday cake or any other color scheme. For specific themes like a Libra birthday cake, consider using symbolic colors, or adding a very simple, small topper or piped symbol. Minor flavor tweaks to the cake or buttercream, like a different extract, are also easy to incorporate.
How do I properly store my finished bento box cake?
Your finished bento box cake should be stored in the refrigerator, especially if it has buttercream frosting. It will generally keep well for 2-3 days. For the best taste and texture, allow it to sit at room temperature for about 20-30 minutes before serving.
What are some easy ways to make creative birthday cakes using this bento base without being an expert decorator?
You don’t need to be an expert to make stunning creative birthday cakes!
– Simple sprinkles or nonpareils add instant festivity.
– Pre-made edible toppers like small sugar flowers or hearts are a great shortcut.
– Easy color swirls in your frosting can be achieved by adding a drop or two of different food coloring to your buttercream and only partially mixing it before frosting.
– Fresh fruit like a single raspberry or a few blueberries can look very elegant.
Are bento cakes (or lunchbox cakes) difficult for beginners to make?
Not at all with this recipe! We’ve designed this bento cake recipe with simplicity and fun in mind. The small size actually makes them less daunting than a large cake. Key easy steps like the all-in-one cake mixing method and straightforward buttercream make it very approachable, even if you’re new to baking mini cakes.

2 thoughts on “Dreamy Bento Cake Recipe: Simple Fun”