Ingredients
Equipment
Method
- Pop the Popcorn: Start by popping your popcorn kernels using an air-popper or stovetop method. You’ll need about 1 cup of unpopped kernels, which will yield about 4 cups of popped popcorn. After popping, allow the popcorn to rest for a few minutes to cool.
- Make Popcorn Crumbs: Place the popped popcorn in a food processor and pulse it until it breaks down into small, coarse crumbs. You want it finely ground, but not into a powder. A slightly coarse texture is best. If you don’t have a food processor, you can crush the popcorn in a large zip-top bag using a rolling pin, though this will require significantly more time and effort to achieve a fine, even crumb consistently.
- Combine Ingredients: In a large bowl, combine the popcorn crumbs with cornmeal, olive oil, and your chosen seasonings (e.g., start with 1 tsp salt, 1/2 tsp garlic powder, 1/4 tsp chili powder). Stir everything together. If the mixture feels too dry, add a teaspoon of water (or a little more olive oil) at a time, mixing gently, until the dough just comes together. It will be somewhat delicate and a bit sticky but should be manageable with care.
- Roll Out the Dough: Lay the dough on a sheet of parchment paper. Cover it with another sheet of parchment paper to prevent sticking, then roll the dough out as thin as possible using a rolling pin. Aim for a thickness of about 1/8 inch.
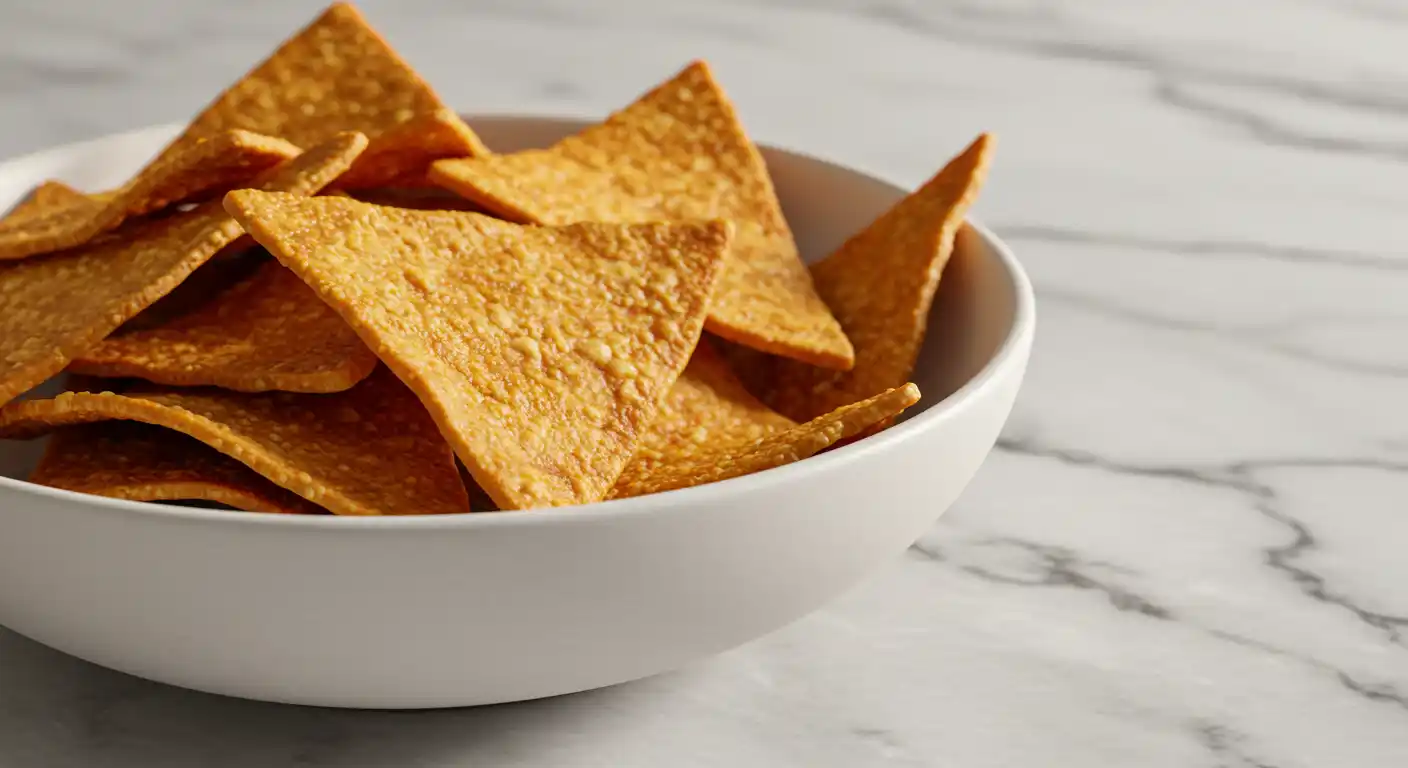
- Cut the Chips: Once the dough is rolled out, use a sharp knife or pizza cutter to slice it into your desired chip shape: triangles, squares, or even fun shapes!
- Bake: Preheat your oven to 375°F (190°C). Transfer the cut chips onto a baking sheet lined with parchment paper. Make sure there’s enough space between each chip so they bake evenly. Bake for 10-12 minutes, or until the edges are golden brown and crispy.
- Cool and Enjoy: After baking, take the chips out of the oven and let them cool on the sheet for at least 5 minutes. They’ll become even crispier as they cool. Serve immediately with your favorite dip.
Notes
Tips for Success:
- The thinner you roll the dough, the crispier your chips will be!
- If the dough becomes too sticky while rolling, sprinkle a tiny bit of cornmeal on top to help.
- Keep a close eye on them during the last few minutes of baking; chips can go from golden to burnt quickly!
- Store cooled chips in an airtight container at room temperature for up to 2 days, though they are best enjoyed fresh.